A DIY Inspection May Not Reveal the RV’s Full Condition
A used RV can shine in listing photos and still hide a soft floor, aging roof, weak brakes, or a slide-out seal that lets water inside. A quick seller walkthrough rarely shows what is happening behind walls, beneath flooring, or within the electrical and plumbing systems.
When buying a used RV, a pre-purchase inspection helps assess the vehicle before a deposit is paid or the sale is completed. Buyers can perform an initial RV inspection, but a professional evaluation follows a more systematic process.
RV Repair Source provides mobile used RV inspections around Navasota, including at private properties, dealer lots, and storage locations when access permits.
Review the Records Before Inspecting the RV
Before scheduling the RV inspection, ask the seller for:
- Vehicle identification number (VIN), title, and current registration
- Maintenance and repair records
- Roof, appliance, slide-out, and component warranties
- Documentation for previous body or structural work
- Details about leaks, storm damage, accidents, and storage
- Manuals for installed equipment and modifications
Records do not establish the used RV’s current condition, but they can guide the inspection.
For example, repeated roof-seal repairs may justify closer attention to surrounding materials for water intrusion. Missing maintenance records, recurring problems, or unclear ownership details also deserve follow-up.
Verify title, lien, and recall information through the appropriate official sources before completing the RV purchase.
Used RV Inspection Checklist: What to Examine
Each inspection area can reveal how the RV was used, maintained, and protected over time.
1. Roof, Seals, and Signs of Water Intrusion
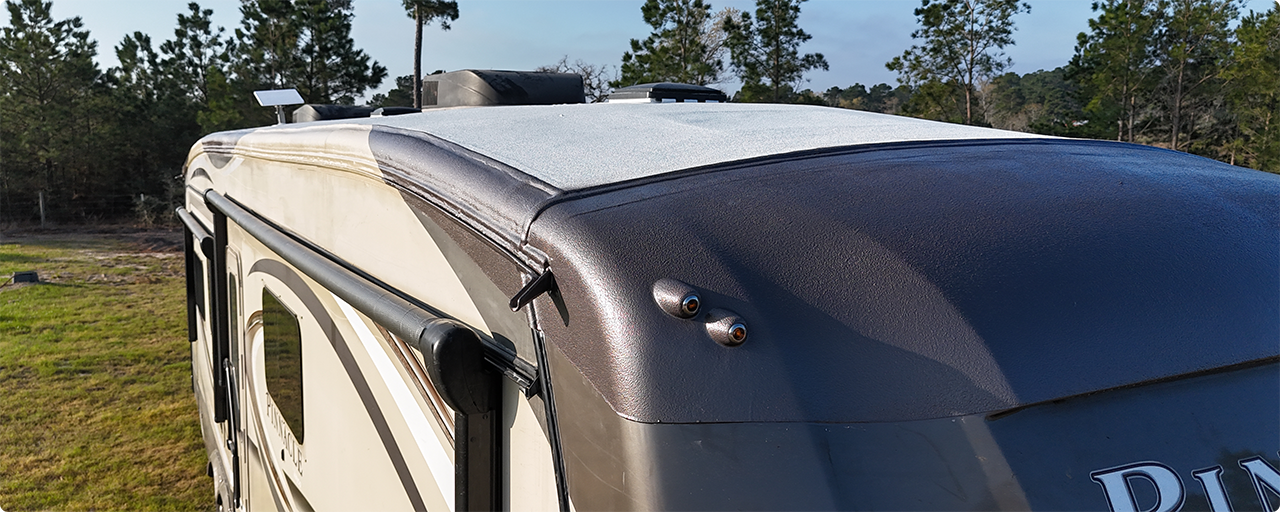
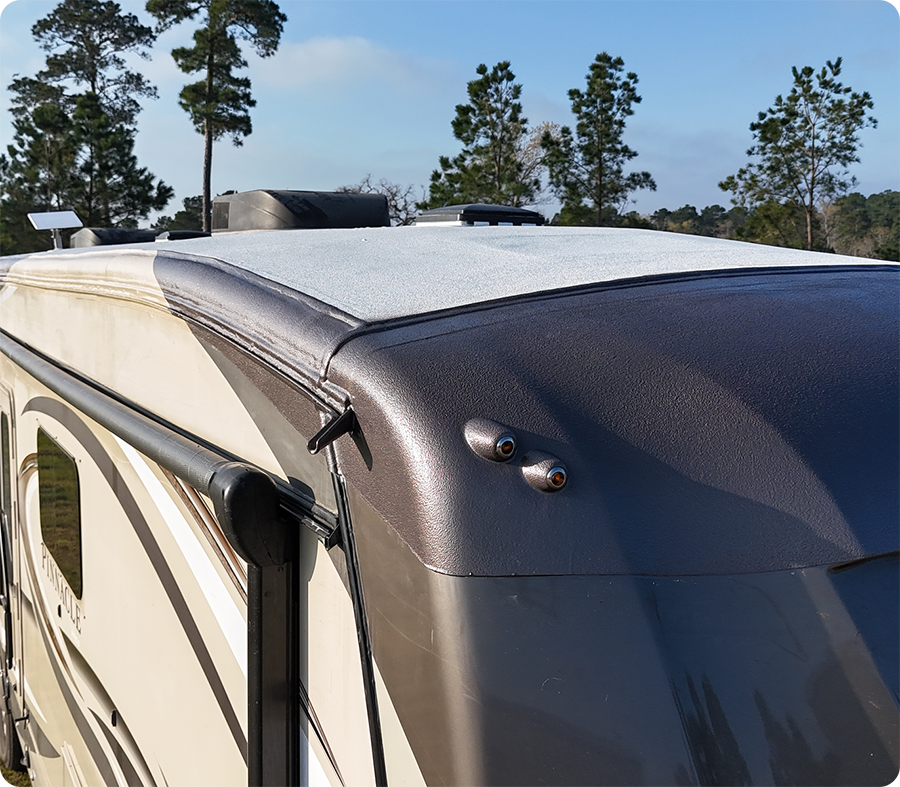
Inspect visible roof material, seams, sealant, vents, skylights, and mounted equipment for cracks, lifting, loose edges, or previous repairs. Inside, check for:
- Ceiling stains or bubbling wallpaper
- Swollen cabinetry and soft spots
- Peeling wall coverings
- Musty odors or damp materials
A missed roof leak may continue affecting underlying materials after the visible stain dries.
Fresh sealant, patches, or roof coating may improve the surface appearance, but they do not confirm that the decking, insulation, or interior structure is free from hidden water damage.
2. Floors, Walls, Body, and Structure
Walk through the used RV and note flooring that feels soft, uneven, or unusually flexible, particularly near entryways, plumbing fixtures, and slide-outs.
Check walls and ceilings for swelling, separation, gaps, or uneven repair work.
Outside, look for mismatched paint, damaged panels, loose trim, corrosion, or sections that no longer align. For example, fresh paint on one panel may be cosmetic or may cover a previous body repair.
Examine accessible underside areas for scrapes, bent components, patched materials, or other evidence of impact.
3. Slide-Outs, Leveling Jacks, and Awnings
With the seller’s permission, cycle each slide-out fully and watch for hesitation, grinding, uneven movement, gaps, or poor alignment. For example, one side moving slower than the other may indicate a drive or synchronization problem. Confirm that the seals make consistent contact in both positions.
Operate the leveling jacks according to the owner’s manual, noting error codes, incomplete travel, or drifting.
Extend each awning only in safe weather and adequate space, checking the fabric, arms, mounting points, and retraction.
4. Electrical System, Plumbing system, HVAC, and Appliances
Use available shore power, water, batteries, and generator connections to test the RV’s major systems.
Check lights, outlets, the converter or inverter, air conditioner, refrigerator, water heater, water pump, faucets, drains, and toilet.
Allow equipment enough time to reveal more than basic startup. For example, an air conditioner fan may run even when the unit is not cooling properly.
Record leaks, odors, weak airflow, unusual noises, error codes, or repeated breaker trips. Note any appliance or system that could not be tested.
5. Tires, Brakes, and Running Gear
Check tire age, pressure, tread depth, sidewalls, valve stems, uneven wear, and the spare. A tire may retain usable tread while still showing age-related cracking or damage.
For a travel trailer or fifth wheel, assess the trailer brakes, bearings, hitch components, brake lights, safety chains, and breakaway system. Motorhome buyers should confirm whether the RV inspection includes the engine, transmission, chassis, fluid levels, and test drive.
Arrange a separate chassis or engine evaluation when those items fall outside the inspection scope.
Test Systems Under Real Operating Conditions
Brief startup tests may miss problems that appear under load or during a full cycle. When utilities, access, and seller permission allow:
- Run the air conditioner long enough to assess cooling rather than confirming that only the fan starts.
- Cycle each slide-out completely to check movement, alignment, and operation in both directions.
- Pressurize the plumbing system and watch for pressure loss or leaks.
Ask what could not be tested and why. Missing shore power, water, propane, fuel, keys, or component access limits what the pre-purchase inspection can confirm.
Turn Inspection Findings into a Purchase Decision
Not every finding should carry the same weight. Organize the RV inspection results by how they affect safety, usability, and ownership cost:
- Safety concerns: Brake, tire, electrical, propane, or structural problems may require attention before transport or use.
- Progressive damage: Active leaks, failed seals, and water intrusion can continue affecting nearby materials.
- Functional repairs: A failed air conditioner, stuck slide-out, or leaking plumbing system may limit immediate use.
- Deferred maintenance: Aging sealant, worn components, overdue service, and older tires add to the cost of taking ownership.
- Cosmetic conditions: Fading, scratches, and interior wear may affect appearance or resale value without preventing operation.
Obtain repair estimates before deciding whether to proceed, renegotiate, request seller repairs, or continue searching.
Why an Independent Check from an RV Inspector Matters
A seller highlights the RV’s features. A professional RV inspector follows a structured process focused on documenting its accessible condition.
An independent inspection provides:
- Objective findings: The inspector has no stake in whether the sale proceeds.
- Systematic testing: Major accessible systems are reviewed according to the agreed inspection scope.
- Clear explanations: Buyers can better understand likely maintenance and repair needs.
An inspection reflects conditions visible and testable at that time; it cannot guarantee that every concealed defect or future failure will be found. Confirm the scope, testing, report format, and limitations before scheduling.
Better Information Leads to a Better Buying Decision
A sound used RV purchase considers documented history, accessible condition, and system performance together. Inspection findings help clarify immediate repairs, deferred maintenance, and likely ownership needs before the buyer commits.
RV Repair Source provides mobile pre-purchase inspections around Navasota to support that decision with practical, clearly explained findings.
Know the RV’s Condition Before You Buy
RV Repair Source is a locally owned, all-in-one RV service center in Navasota.
We provide mobile used RV pre-purchase inspections within approximately 65 miles at private residences, dealer lots, and storage locations when access and permission allow.
Our technicians explain their findings without a stake in the sale and can address identified roof, water-damage, electrical, plumbing, appliance, slide-out, leveling-jack, brake, flooring, paint, or body concerns.
Call (936) 703-7775 or schedule online before buying.
Frequently Asked Questions
Yes. A seller can decline access, leaving the buyer to decide whether to proceed without independent findings. Confirm permission, available utilities, and inspection access before paying a deposit or traveling to see the RV.
Attendance policies depend on the seller and location. When permitted, attending helps you see notable findings and ask questions about the RV’s condition. Confirm expectations with the seller before the appointment.
Timing depends on the RV’s type, size, accessibility, available utilities, number of systems, and inspection scope. When scheduling, provide the year, make, model, location, seller-access details, and any known concerns so the appointment can be planned appropriately.
RV inspection cost depends on the vehicle’s type, size, location, accessibility, and agreed inspection scope. Contact RV Repair Source with the RV’s year, make, model, and location for current pricing and scheduling information.
We will explain the findings and help you understand which concerns may require repair or maintenance. You can use that information to request estimates, discuss the sale with the seller, or decide whether another RV is a better choice.